
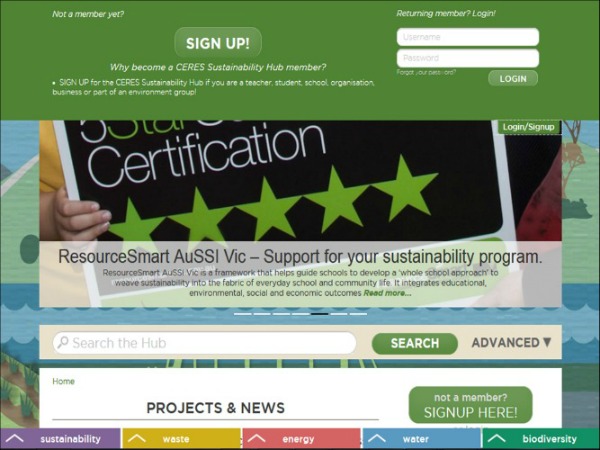
Step 1 – Click on the green ‘Login/Signup’ tab on the top right hand corner to bring down the signup and login section.
Step 2 – Click on the ‘Sign up!’ button.
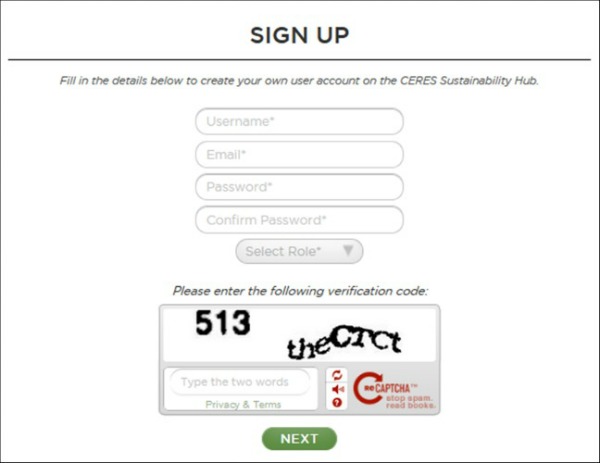
Step 3: Complete the form with your desired username and password. Once completed, click on ‘Next’.
You have now created a user account on the Sustainability Hub!
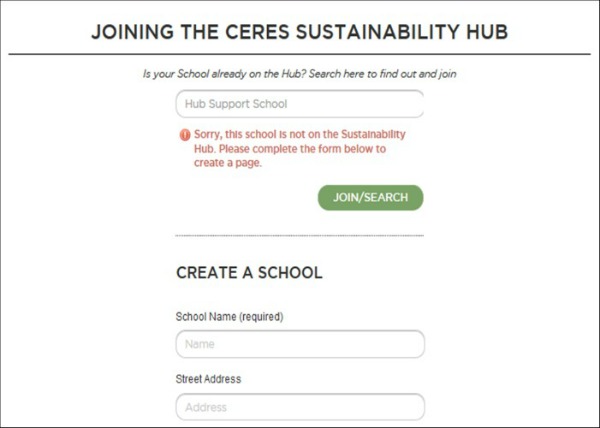
Step 4: Join or create your school/organisation’s blog page. Firstly check whether a blog page already exists by using the first text field. As you start typing, a drop down list will appear of existing schools/organisations on the Hub.
If your school/organisation appears, simply select it and click on the “Join/Search” button to join. The administrator of the blog page will receive a notification to authorise your request. Now you can sit back and relax. Once approved, you will receive an email to notify you.
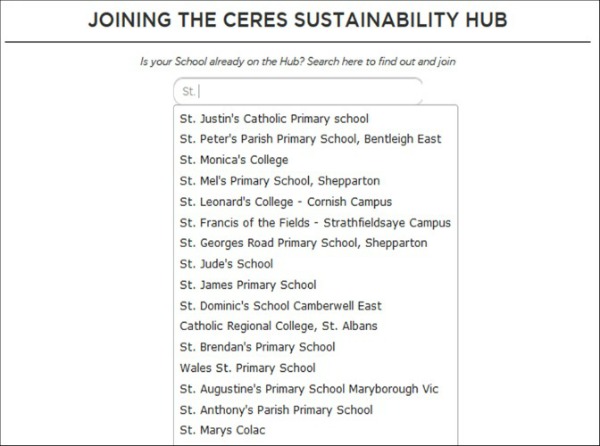
If your school/organisation doesn’t appear in the list:
For students: you will need to ask a teacher to register before you can join and upload projects and resources to your school’s blog page
For teachers/other: complete the ‘Create a School’ section and then click on ‘Create and Continue’. You have now created a blog page for your school/organisation!
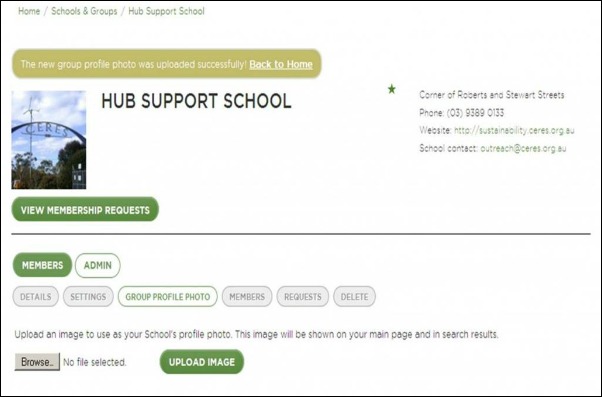
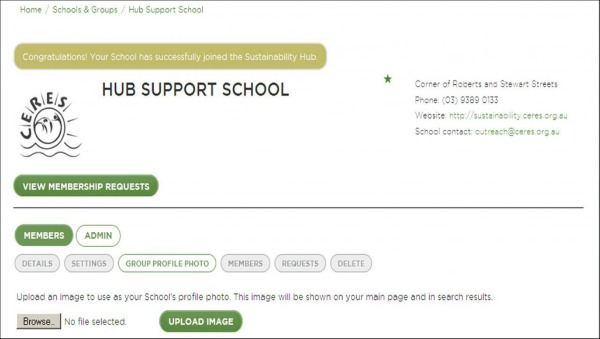
Step 5: This is the admin page. Click on the ‘Browse’ button to select the image file you’d like to use as your blog’s profile photo.
Once file has been selected, click on ‘Upload image’.
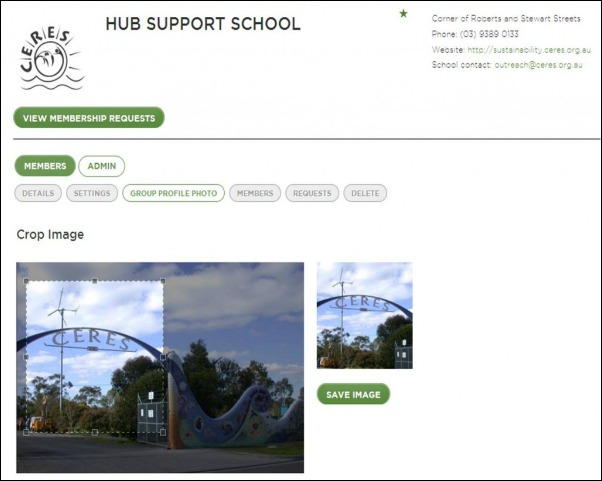
Step 6: Use the arrows and crossbar to select which part of the image you’d like shown as your profile photo.
Click on ‘Save image’ once you’re happy.
Step 7: There you have it! Click on “Back to Home” and start using the Hub!