

Step 1: Log in.
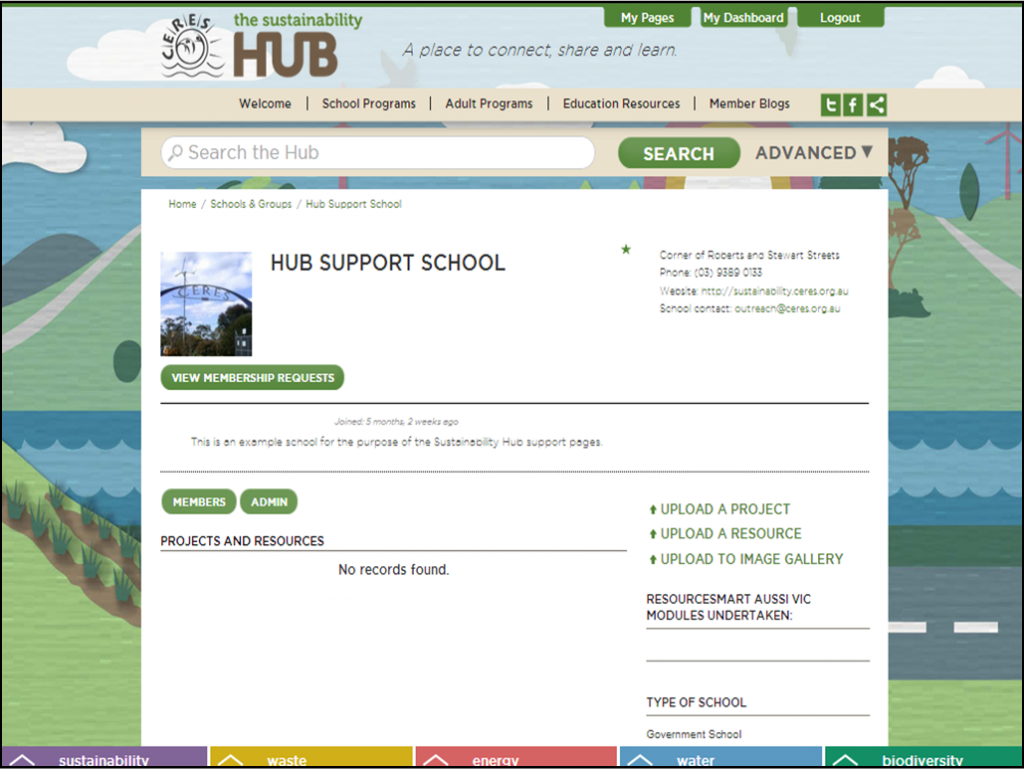
Step 2: You should be on your blog page (below). If not, go onto Step 3, otherwise jump to Step 4.
Step 3: To get to your blog page, select the ‘My Pages’ green tab along the top of the page, then select your blog page under the ‘My Schools/Groups’ heading.
Step 4: On your blog page, click on the ‘Admin’ button.
Step 5: Select the ‘Group Profile Photo’ button.
Step 6: Click on the ‘Browse’ button and find your image file, then click on ‘Upload Image’.
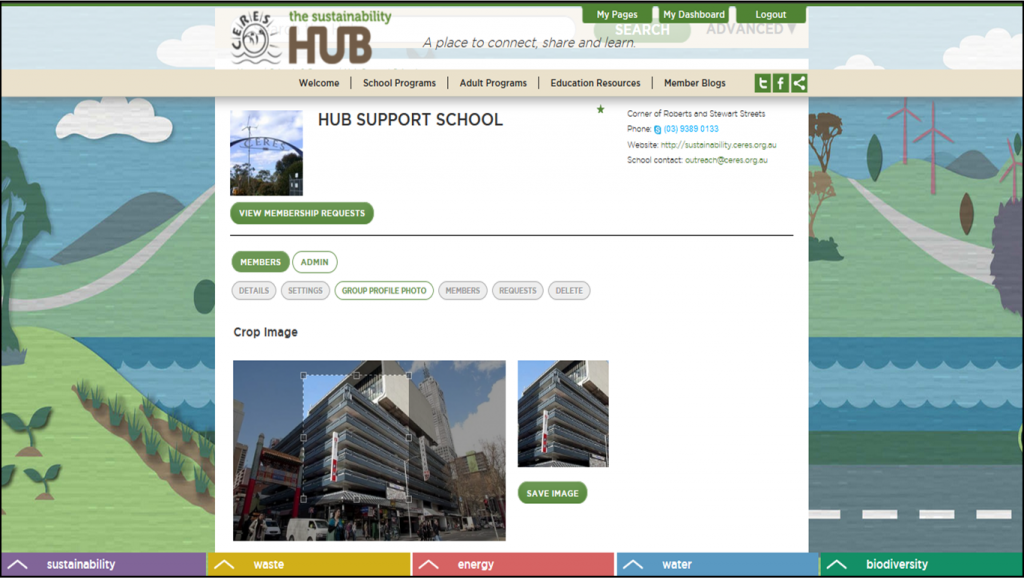
Step 7: You will be asked to crop your image. The full image will appear on the left, with a thumbnail version of the selected area on the right. Drag and move the selected area on the left image to show your desired thumbnail.
Step 8: Click on the ‘Save Image’ button, and there you have your new profile photo!